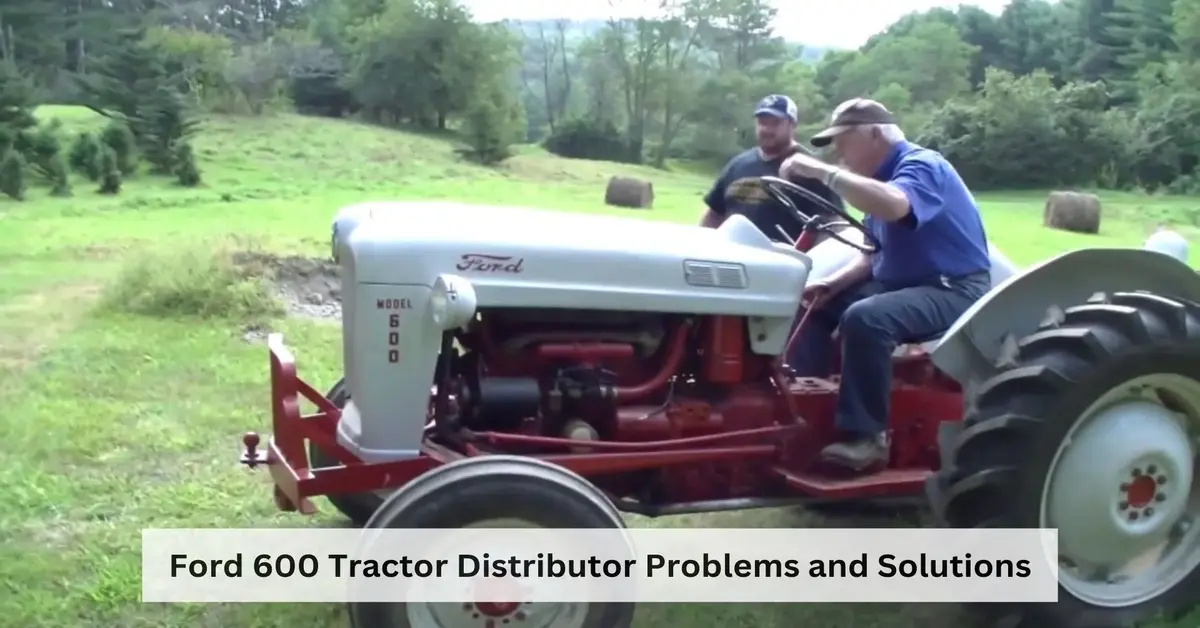
The Ford 600 Tractor, a reliable workhorse from the mid-20th century, remains popular for farmers and enthusiasts. Its robust design and dependable performance have made it a staple in agricultural operations. However, like all machinery, the Ford 600 is not immune to issues, particularly with its distributor system.
The distributor plays a crucial role in the tractor’s ignition system, managing electrical current distribution to the engine’s spark plugs. Problems with the distributor can lead to various performance issues, from hard starting to poor engine performance. Understanding these potential issues and how to address them can ensure that your Ford 600 continues running smoothly and efficiently.
In this guide, we’ll explore common distributor problems associated with the Ford 600 Tractor, provide detailed solutions for each issue, and offer preventive maintenance tips to help you keep your tractor in top condition. Whether you’re experiencing starting difficulties, engine misfires, or other performance issues, this guide will help you diagnose and resolve distributor-related problems effectively.
Common Ford 600 Tractor Distributor Problems
Hard Starting Issues
Symptoms:
If your Ford 600 Tractor is experiencing hard starting issues, you might notice difficulty starting the engine or inconsistent ignition once the engine is running. These problems can frustrate getting your tractor up and running, especially during critical tasks.
Potential Causes:
- Worn Distributor Cap: The distributor cap can become worn or cracked over time. This wear can cause poor contact between the cap and the distributor rotor, leading to weak or inconsistent sparks. Inspect the cap for any visible signs of damage or wear.
- Faulty Ignition Coil: The ignition coil converts the battery’s low voltage to the high voltage needed for ignition. A faulty ignition coil can result in weak or intermittent sparks, making it difficult for the engine to start. Testing the coil with a multimeter or replacing it can help address this issue.
Engine Misfire
Symptoms:
An engine misfire can manifest as irregular running or sputtering during operation. This issue can lead to reduced engine performance and can be particularly noticeable under load or during acceleration.
Potential Causes:
- Dirty or Worn Distributor Points: The distributor points, which control the timing of the spark, can become dirty or worn over time. This can cause inconsistent sparking and result in engine misfires. The points are regularly cleaned and inspected to maintain proper engine performance.
- Incorrect Timing: If the ignition timing is off, it can cause the engine to misfire. The timing must be precisely set to ensure that the spark occurs at the right moment. Incorrect timing can be due to adjustments that have drifted or errors in setting up the distributor.
Poor Engine Performance
Symptoms:
Reduced power and sluggish acceleration are common signs of poor engine performance. If your tractor seems underpowered or lacks the usual responsiveness, the issue might be related to the distributor.
Potential Causes:
- Faulty Distributor Rotor: The distributor rotor sends electrical current to the distributor cap and onto the spark plugs. A defective or worn rotor can lead to poor spark distribution, causing reduced engine power. Inspect the rotor for wear or damage and replace it if necessary.
- Worn Spark Plug Wires: Spark plug wires that are worn or damaged can lead to weak sparks and poor engine performance. Check the cables for signs of wear and replace them if they are cracked or frayed.
Electrical Shortages
Symptoms:
Intermittent electrical failures or a poor spark are common symptoms of electrical shortages. These issues can cause erratic engine performance or prevent the engine from running altogether.
Potential Causes:
- Damaged Wiring: Over time, the wiring connected to the distributor can become damaged due to wear or exposure to the elements. Inspect the wiring for any signs of damage, such as fraying or exposed wires.
- Loose Connections: Loose or corroded connections can disrupt the flow of electrical current, leading to inconsistent performance. Ensure all connections are secure and free of corrosion.
Overheating
Symptoms:
High engine temperature and reduced performance are indicative of overheating issues. If your tractor’s engine runs hotter than usual or loses power, the problem might be related to the distributor.
Potential Causes:
- Faulty Distributor Advance Mechanism: The distributor advance mechanism helps adjust the spark timing based on engine speed. If this mechanism is defective, it can cause the engine to overheat by not advancing the timing correctly. Inspect and service the advance mechanism as needed.
- Improper Timing: Incorrect ignition timing can also lead to overheating. Ensure the timing is correctly set according to the manufacturer’s specifications to avoid excessive engine temperature.
Read More: Ford 2000 Tractor Lift Problems and Possible Fixes
Solutions for Ford 600 Tractor Distributor Problems
Replacing or Cleaning the Distributor Cap
Step-by-Step Guide:
- Removing the Cap: Start by disconnecting the battery to avoid electrical shorts. Remove the screws or clips holding the distributor cap in place. Gently lift the cap off the distributor, not damaging the attached wires.
- Inspecting the Cap: Examine the interior of the cap for any signs of cracks, wear, or carbon buildup. The terminals should be clean and free of corrosion. If there is significant damage or buildup, the cap should be replaced.
- Replacing the Cap: If replacement is needed, ensure that you purchase a cap that matches the specifications of the Ford 600 Tractor. Align the new cap with the distributor, secure it with the screws or clips, and reconnect the wires.
Tips:
- Choosing the Right Replacement Parts: Always use parts compatible with the Ford 600 Tractor’s make and model. OEM (Original Equipment Manufacturer) parts are often preferred for reliability and fit.
Adjusting or Replacing Distributor Points
Step-by-Step Guide:
- Checking Point Gap: Remove the distributor cap and rotor to access the points. Use a feeler gauge to measure the gap between the points. The gap should be set according to the manufacturer’s specifications, typically around 0.015 inches.
- Adjusting or Replacing Points: If the gap is not within the recommended range, use the adjustment screw to correct it. If the points are worn or pitted, replace them with new ones. Ensure the new points are aligned correctly and set to the proper gap.
Tips:
- Using a Feeler Gauge: For accurate adjustment, use a feeler gauge to measure the point gap. This tool helps ensure the gap is set precisely, which is crucial for proper ignition timing.
Checking and Replacing the Distributor Rotor
Step-by-Step Guide:
- Inspecting the Rotor: Remove the distributor cap to access the rotor. Inspect the rotor for signs of wear, such as cracks or excessive pitting. Also, check for any carbon buildup that might affect performance.
- Replacing the Rotor: It should be replaced if the rotor shows signs of wear or damage. Ensure that the new rotor is properly aligned with the distributor shaft. Secure it in place and reassemble the distributor components.
Tips:
- Ensuring Proper Alignment: When installing a new rotor, ensure it is aligned with the distributor cap terminals. Misalignment can cause poor spark distribution and engine performance issues.
Inspecting and Repairing Electrical Connections
Step-by-Step Guide:
- Testing Wiring and Connections: Use a multimeter to check for continuity and voltage in the distributor wiring. Inspect all connections for signs of wear, corrosion, or looseness.
- Repairing Issues: If any wiring or connections are faulty, repair or replace them as needed. Ensure that all connections are clean and secure to prevent electrical failures.
Tips:
- Using a Multimeter: A multimeter is essential for accurately testing electrical components. It helps diagnose issues with wiring and connections, allowing for precise repairs.
Adjusting the Ignition Timing
Step-by-Step Guide:
- Setting the Correct Timing: Use a timing light to check and adjust the ignition timing. Connect the timing light to the spark plug wire and follow the manufacturer’s instructions to set the timing to the correct specifications.
- Verifying Timing Settings: After adjusting the timing, double-check it against the tractor’s manual to ensure it meets the recommended settings. This ensures optimal engine performance and efficiency.
Tips:
- Consulting the Tractor’s Manual: Always refer to the tractor’s manual for the specific timing settings. Proper timing is crucial for efficient engine operation and to prevent potential issues.
Read More: Ford 2000 Tractor Hydraulic Lift Problems and Possible Fixes
Preventive Maintenance Tips
To ensure your Ford 600 Tractor’s distributor system remains in top working condition and to prevent potential issues before they arise, follow these preventive maintenance tips:
Regularly Inspect Distributor Components
- Routine Checks: Periodically inspect the distributor cap, rotor, and points for signs of wear, damage, or carbon buildup. Early detection can prevent more serious problems and keep your tractor running smoothly.
- Visual Inspections: Look for cracks, corrosion, or other visible signs of deterioration. Pay attention to the condition of the distributor’s internal components, including the advanced mechanism and wiring connections.
- Functional Testing: Regularly test the ignition system to ensure all components function correctly. This can include checking spark intensity and ensuring consistent engine performance.
Clean and Lubricate as Needed
- Cleaning: Remove and clean the distributor cap and rotor to eliminate any carbon buildup or dirt that can affect performance. Use a dry cloth or a specific electronic cleaner to avoid damaging sensitive components.
- Lubrication: Apply appropriate lubricants to the distributor shaft and advance mechanism as the manufacturer recommends. Proper lubrication helps reduce friction and wear, ensuring smooth operation.
- Avoid Over-Lubrication: Avoid over-lubrication, as excess lubricant can attract dirt and cause more problems. Use only the recommended type and amount of lubricant.
Follow the Manufacturer’s Maintenance Schedule
- Adherence to Schedule: Refer to the Ford 600 Tractor’s owner’s manual for the recommended maintenance schedule specific to the distributor system. Adhering to this schedule ensures timely servicing and can prevent unexpected failures.
- Scheduled Replacements: Replace distributor components such as the cap, rotor, and points at intervals suggested by the manufacturer, even if they appear to be functioning properly. This proactive approach helps maintain optimal performance.
- Record Keeping: Keep detailed records of all maintenance activities, including inspections, cleaning, and parts replacements. This documentation can help track the tractor’s maintenance history and identify patterns or recurring issues.
Read More: 5 Common Ford 4610 Tractor Problems and Possible Fixes
Final Thoughts
Maintaining the distributor system of your Ford 600 Tractor is essential for ensuring reliable performance and longevity. By understanding common distributor problems such as hard starting, engine misfires, and overheating, you can take proactive steps to address these issues promptly. Regular inspections, cleaning, and adherence to the manufacturer’s maintenance schedule will help keep your distributor in optimal condition. Remember, a well-maintained distributor not only improves engine performance but also extends the life of your tractor. Addressing problems early and performing routine maintenance will prevent costly repairs and keep your Ford 600 Tractor running smoothly for years. Stay vigilant and proactive to ensure your tractor remains a dependable workhorse.